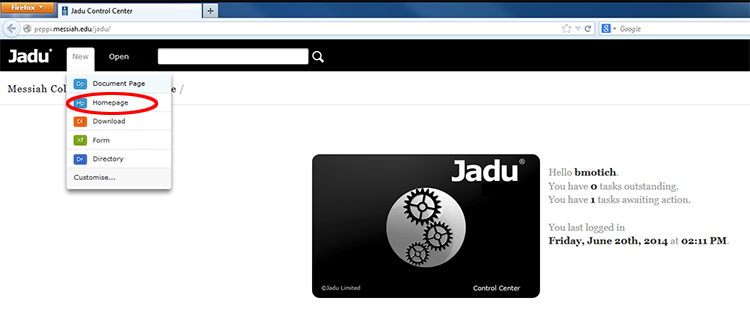
To create a new homepage, click New in the top black navigational bar, and then click Homepage.
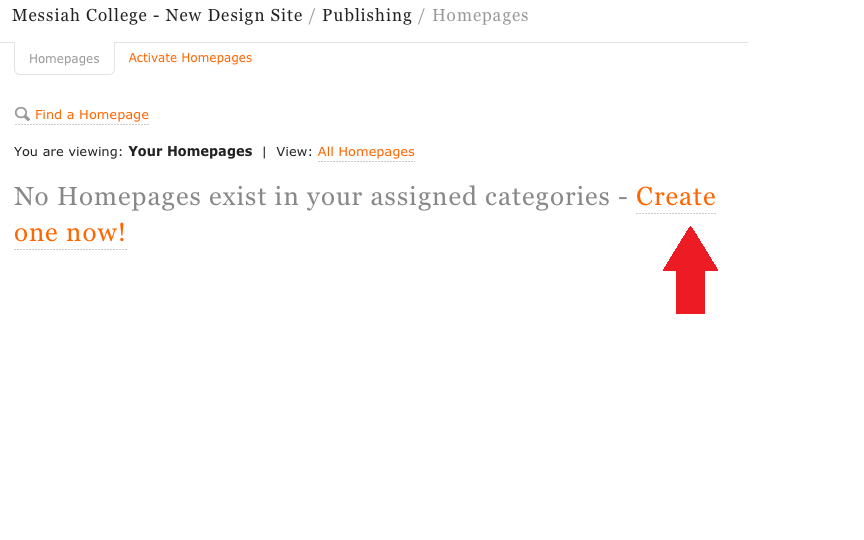
If you do not have any homepages yet, you will be prompted with the screen below to create one.
Click Create one now!
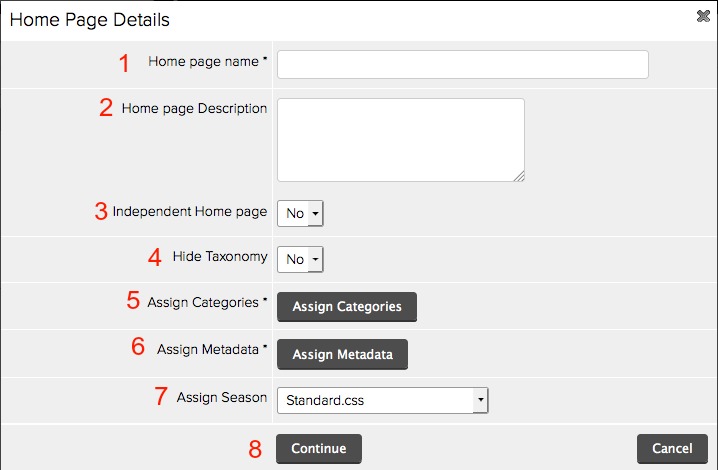
In this next step, you will specify a page name and fill in required fields:
1) Homepage name (required)
2) Home page description: this is useful for sharing homepages with others, not required.
3) Independent Home page, leave as “no”
4) Hide Taxonomy, leave as "no"
5) Assign Categories
6) Assign Metadata
7) Leave Season as it is.
8) Click Continue
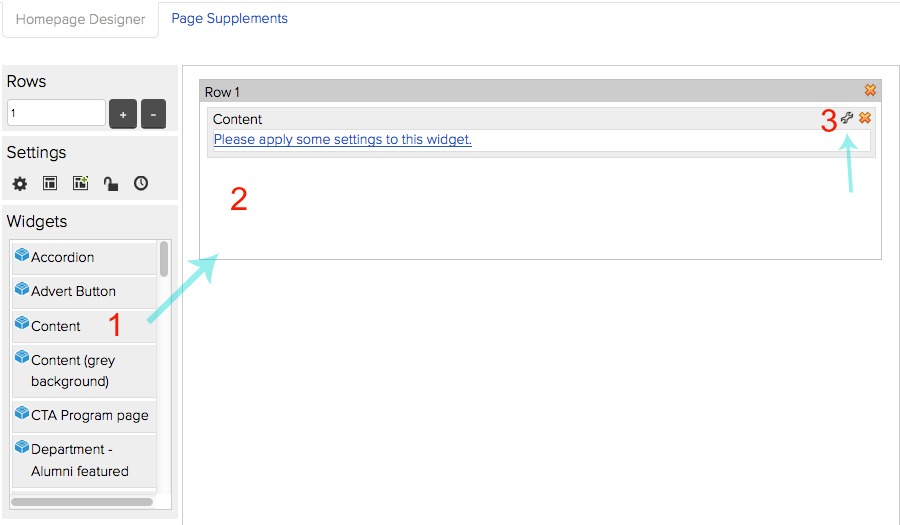
Homepage content is built using widgets. You must have at least one widget to start adding your information.
1. From the left bar under Widgets, click on the Content widget .
2. Drag the Content widget into the Homepage Designer screen under Row 1.
3. Click on the wrench (tool) icon to add content to the widget.
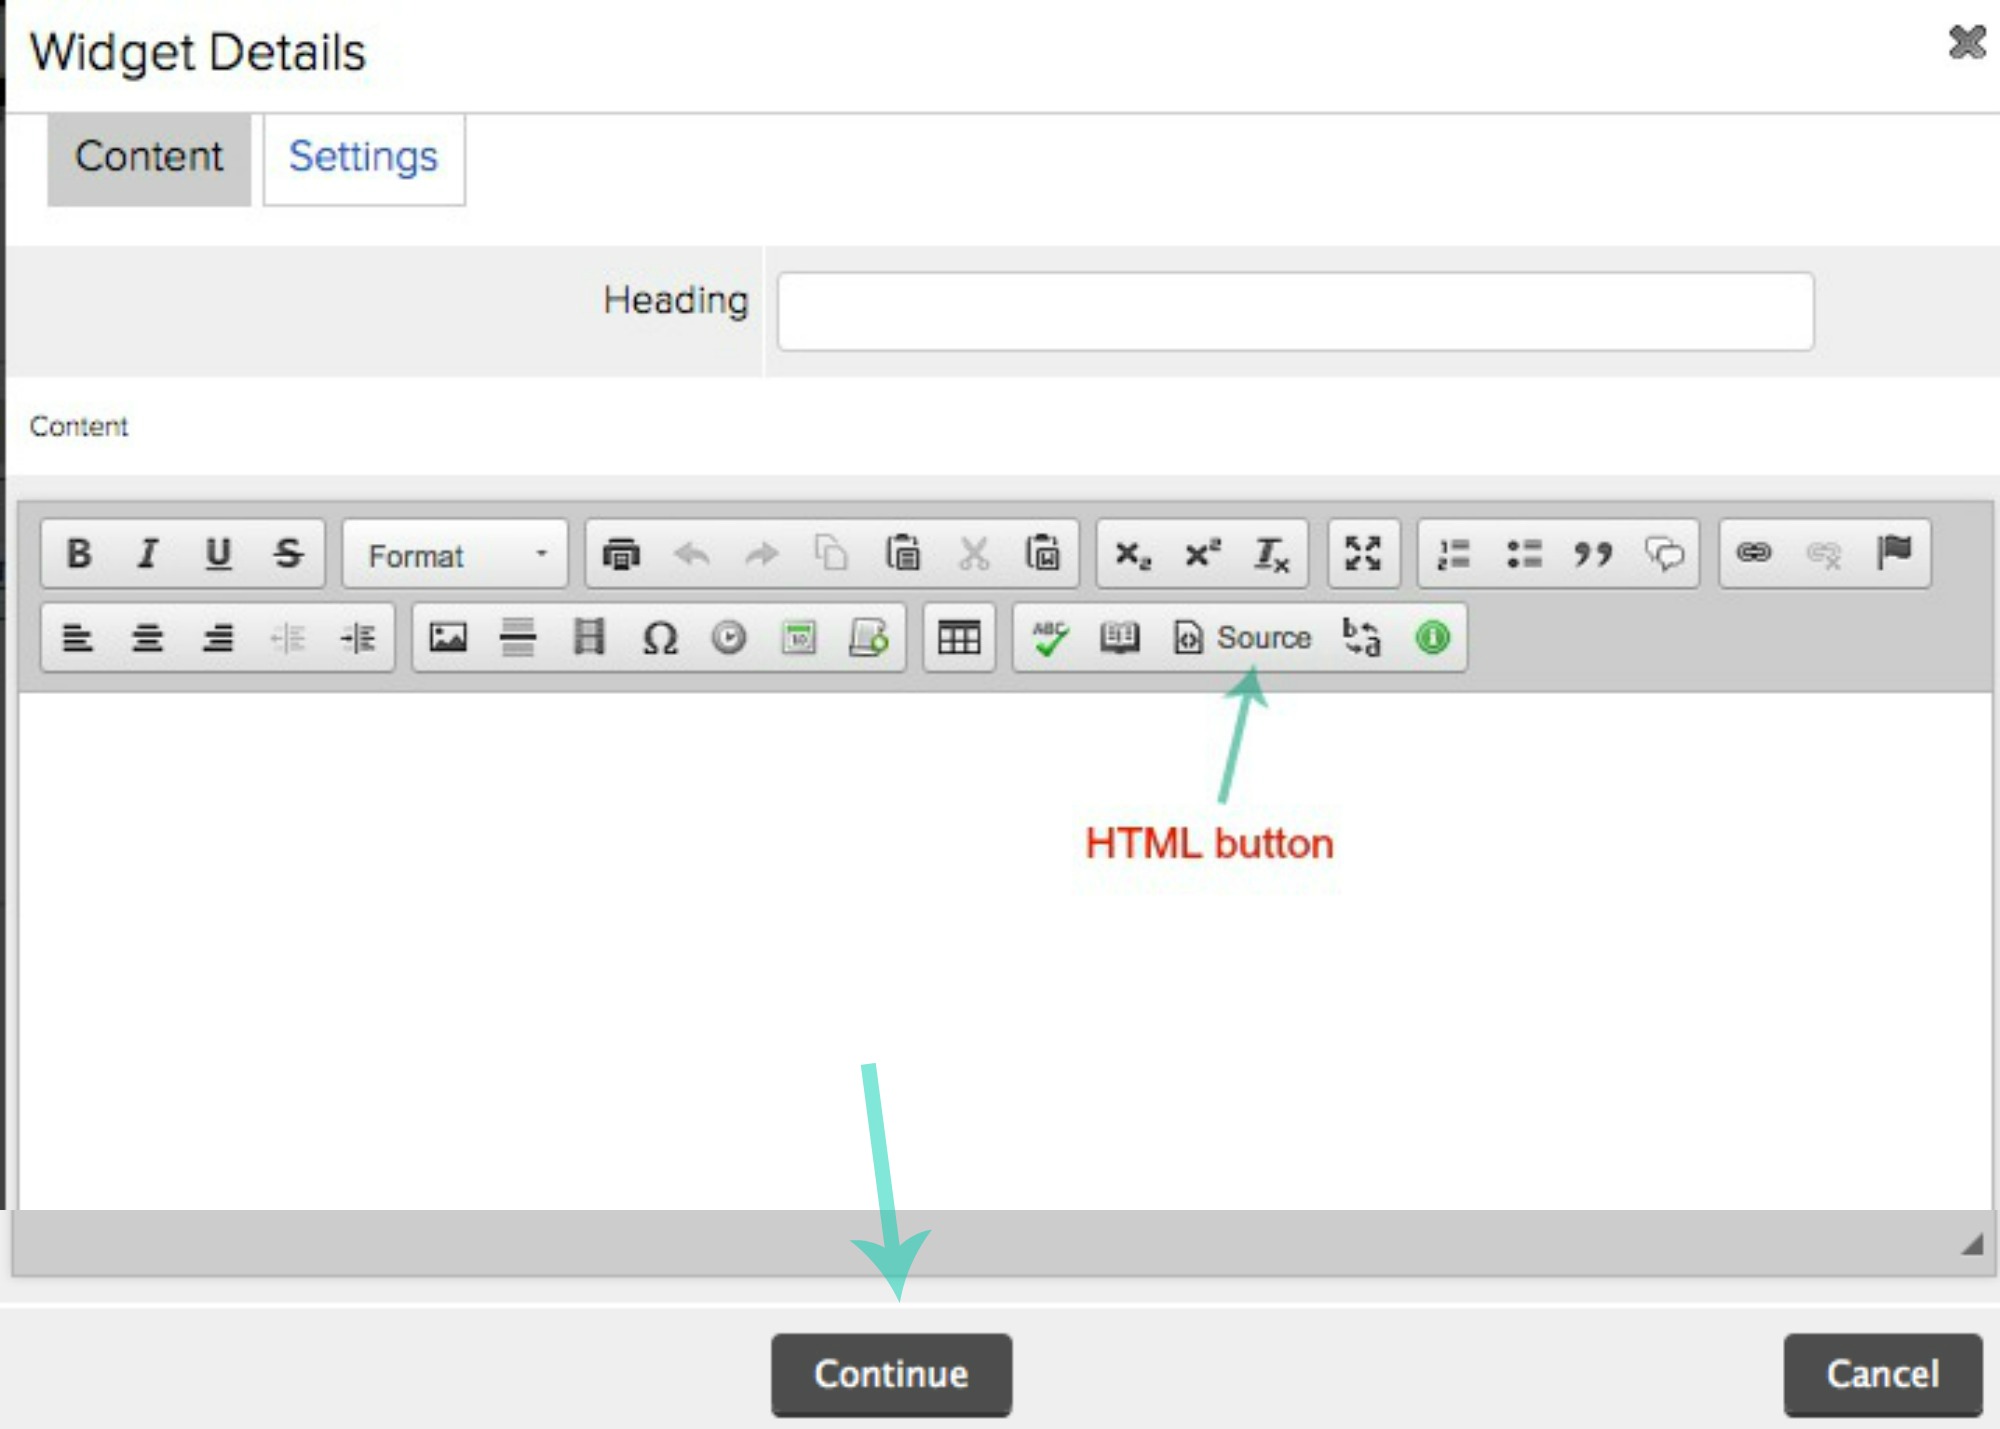
When you click on the wrench, the content editor will open.
Click inside the editing area to activate the editor. You can now copy and paste content in, or type in the content box directly. You can format, add links, add images just as you would in other programs. (See other Jadu Training Modules on adding images for additional help.) When you’re done, click Continue.
If you are comfortable with HTML, you can click the HTML button in the top right to copy and paste HTML or edit it yourself if needed. When you’re done, click Continue.
When you are satisfied with the edits / changes, you can click Continue.
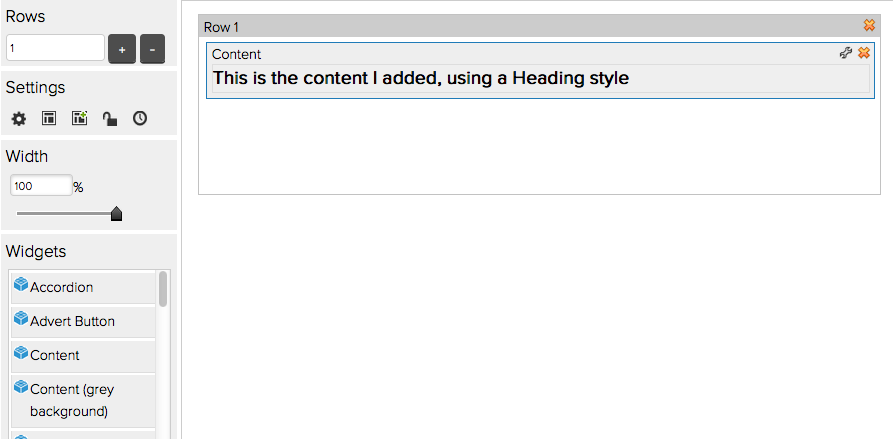
This is what the page would look like with the content widget and content added:
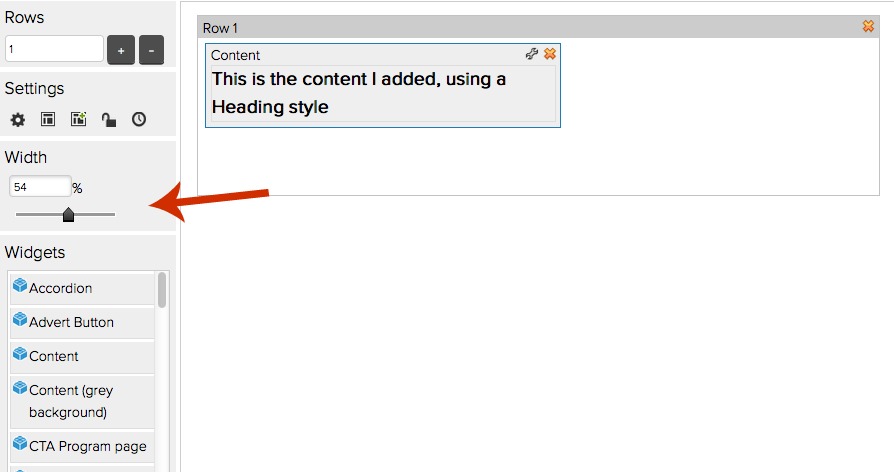
Note that you can also drag the slider bar on the left to adjust the Width of the widget:
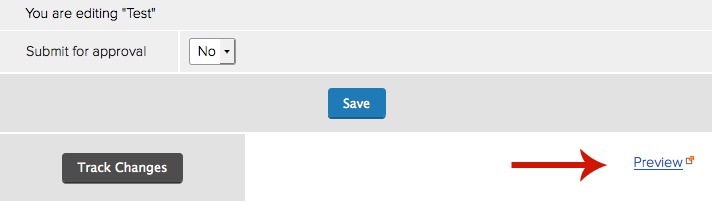
To preview your page before going live, click the blue Save button at the bottom of the page:

You will then see a Preview link at the bottom of the page. Click this to see a preview of the page and its appearance. Please note that you should NOT use this URL as a link. You will notice the URL is long and will expire as soon as you close the tab. It is simply for test mode to preview your page.
The final steps to publish a homepage are to Save, Approve, and Activate the homepage.
If you change the Submit for approval dropdown to Yes before you Save, it eliminates a step:

Click Save and then Approve. As soon as you do this, your page will be live and you will see "View Live" at the bottom of the page.

"View Live" can be used to see the Published homepage.
NOTE: The first time you Publish a Homepage, you will need to ask web services to activate your page if you want it to appear on the left nav.