- Open the desired Document or Homepage (with a content widget already added to the Homepage).
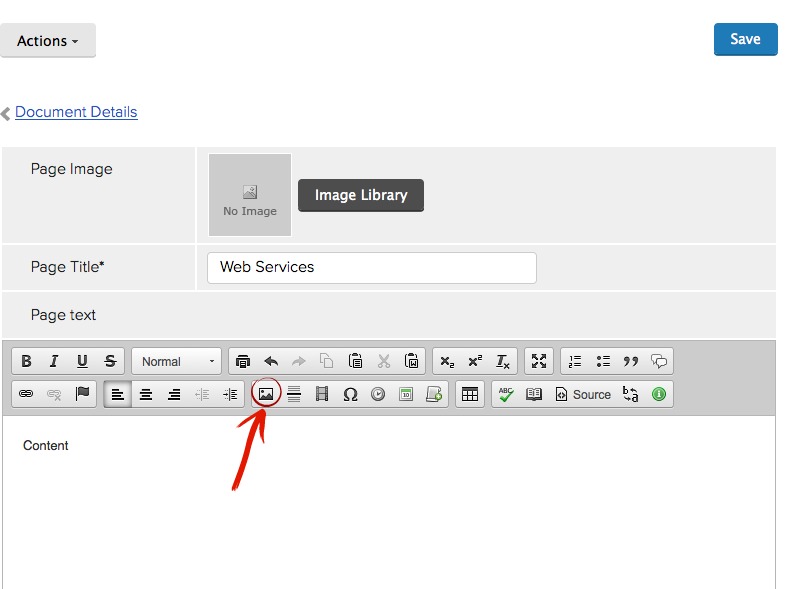
- Click inside the content area, positioning cursor where you want to insert the image.
- Click the Image button
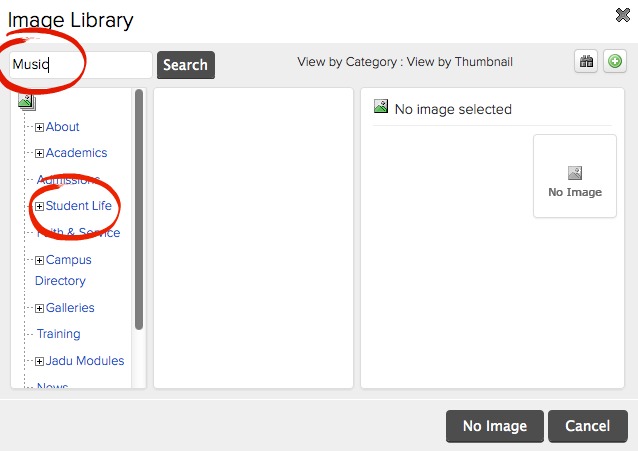
Click on the folder that contains the image you want to insert
or
Type a keyword into the Search box.
NOTE: If the image you want to use is not in the Image Library, you will need to upload it. See the module Uploading an Image to the Image Library.
Click on the photo name and the photo will display in the third panel of the window.
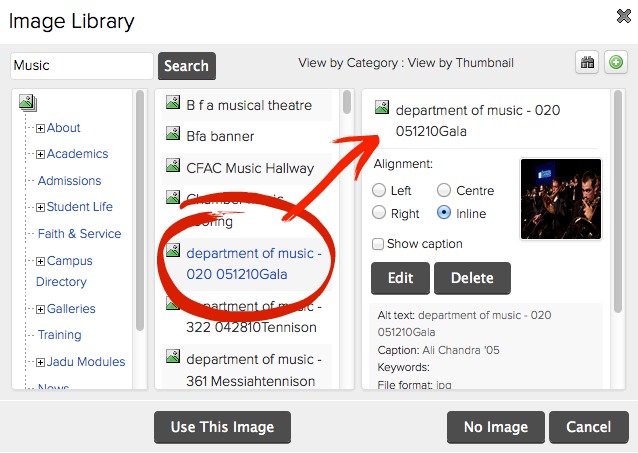
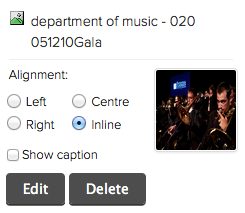
1. Specify the alignment for the image: Left, Center, Right or Inline.
Left, Right and to some extent Inline allow text to flow around the image. Center does not.
NOTE: Left or right will scale the image to 30% of the page. Inline or center will display the image at full size, but alignment is difficult.
2. Click Edit and you can edit the attributes of the image
Now your image will be a part of your document. You can click the image and drag the corner to make it smaller. You can drag it to move it up and down the document, or double click on it to go back to the editing menu and change the alignment if you want to move it side to side.
Once your document looks like it should, click the Save Page button. (Note that this will look slightly different for a Homepage and the button simply says "SAVE").